Laura the Gastronaut > Recipes > Fall >
Caramel ApplesCaramel Apples
October 13, 2021 | Updated August 19, 2022 | Laura
*This post may contain affiliate sales links. Please see full disclosure policy for details.
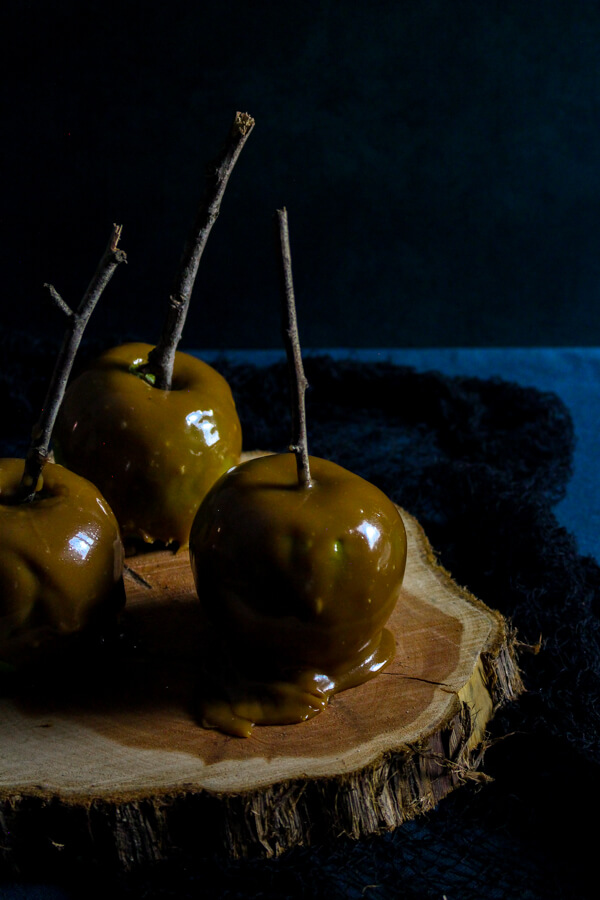
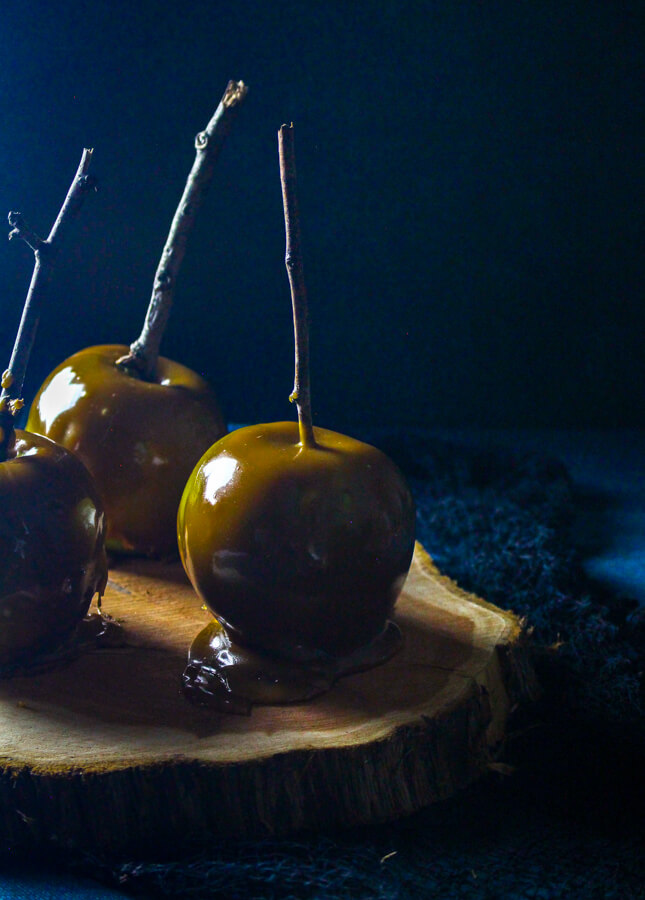
Nothing says fall like a batch of homemade caramel apples. These Granny Smith apples are covered in a simple homemade caramel sauce and are so delicious. This sweet treat is perfect for the entire fall season and Halloween.
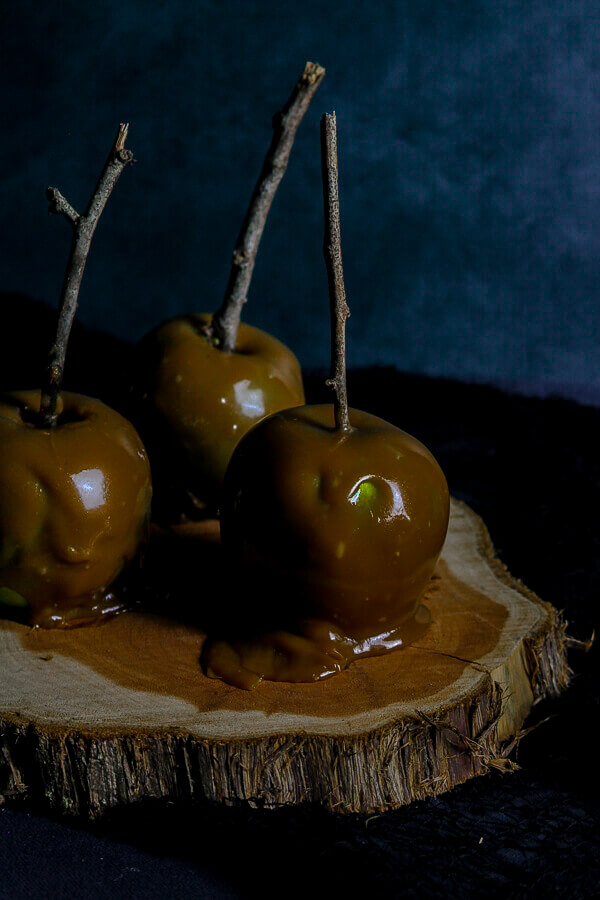
Sweet, Tart, and Yummy
Caramel apples just scream 'fall'! If I had to imagine what a fall festival would taste like, it would be caramel apples. They are the perfect combination of sweet and tart.
I know it can be somewhat intimidating to make homemade caramel, but once you get it down it is so worth it. The taste of homemade caramel is like no other, and there's so much you can put it on. It would be great drizzled on top of pancakes or waffles, stirred into your iced coffee, used as a dip for fruit, or poured on top of a bowl of ice cream. Or just simply eat it on its own. You really can't go wrong.
Caramel Apples Ingredients
*Some of these ingredient links may be affiliate links. As an Amazon Associate I earn from qualifying purchases.*
✽ Brown Sugar: If you don't have brown sugar, you can use white sugar instead. However, I love the molasses flavor brown sugar brings to the table. You can use light or dark brown sugar.
✽ Light Corn Syrup: This is an important ingredient in this recipe because the corn syrup will add the stickiness to the caramel so it sticks to the apples.
✽ Butter: Adds buttery flavor (yes, please) and contributes a soft texture to the caramel.
✽ Heavy Whipping Cream: The base of the caramel and creates a thick consistnecy.
✽ Sea Salt: What's better than caramel? Salted caramel. Just a bit of sea salt will elevate this caramel's flavors tremendously.
✽ Granny Smith Apples: While you could use red apples, I find that green apples taste better as they contribute to that desired tart/sweet combination.
How to Make Caramel Apples
➊ We'll begin with prepping the 4-5 Granny Smith apples. Wash the apples well. I like to use a vinegar water mixture to make sure they are really clean. Dry the apples really well. Pull out the stem and stick in a caramel apple stick. Place in the fridge until ready to use.
➋ Now on to the caramel. It's important not to double or reduce the amounts in this recipe. If you need more caramel, make two batches instead. It's also important to use the correct saucepan size. For this recipe, we will be using a 1.5 quart saucepan.
In the saucepan, add 1 cup (200 grams) of packed brown sugar, 1/4 cup + 2 tablespoons (90 mL) of light corn syrup, 4 tablespoons (1/4 cup) of butter, 1/2 cup (120 mL) heavy whipping cream, and 3/4 teaspoon sea salt.
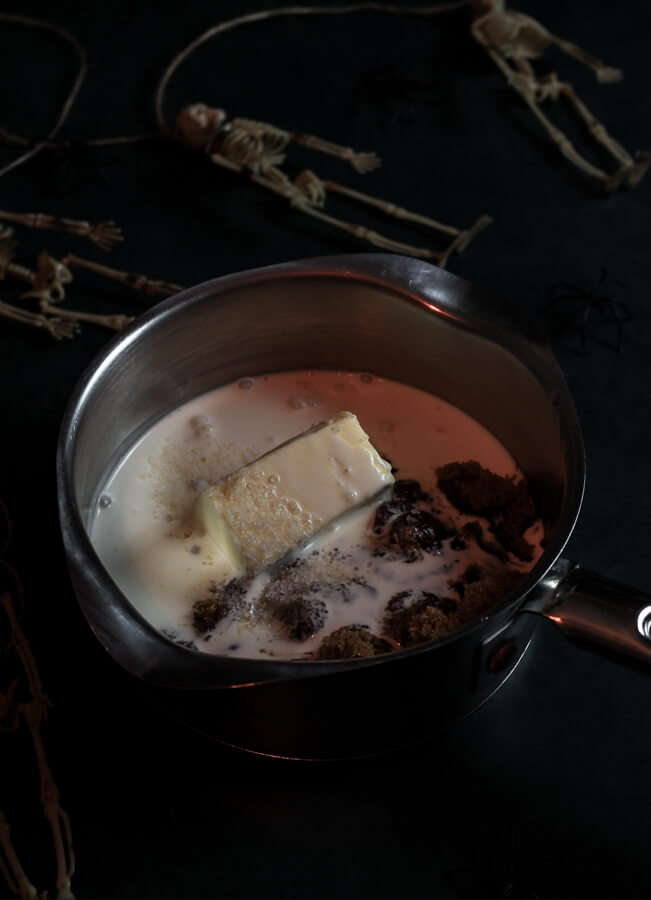
Heat the mixture over medium heat, stirring constantly with a wooden spoon, until it begins to boil. Once it's boiling, stir in another 1/2 cup (120 mL) of heavy whipping cream. Place your candy thermometer into the mixture ensuring that it is not touching the bottom of the pan (that could given an inaccurate temperature reading).
Keeping the heat on medium (don't adjust!), continue cooking the caramel, stirring frequently. Keep cooking until the caramel reaches 245°F (118°C). This could take 15-20 minutes, but don't focus too much on the time. Focus on the candy thermometer to know when to stop cooking. Remove from the heat and let cool about 10 minutes.
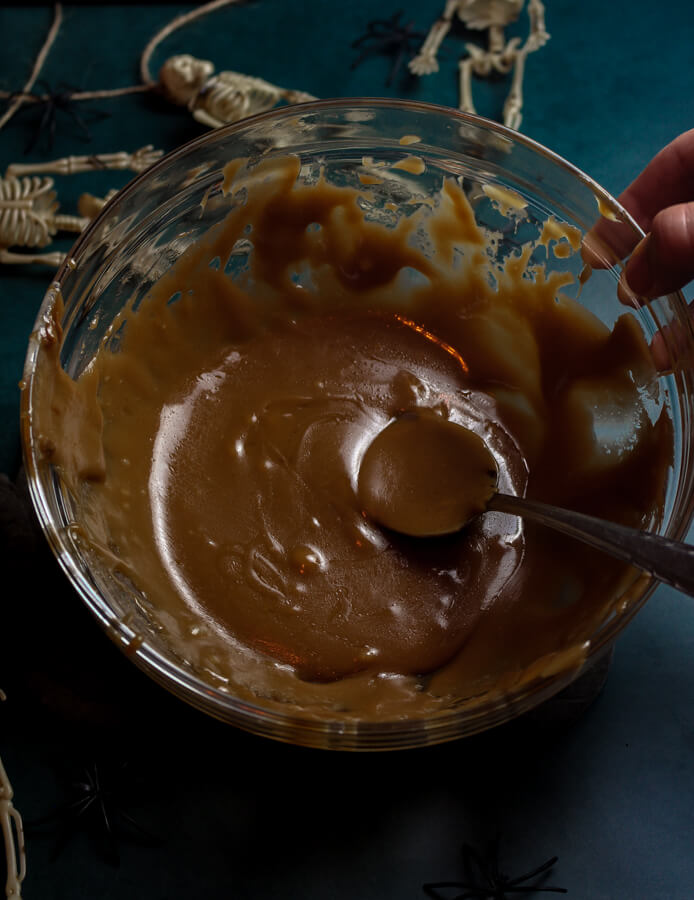
➌ Prepare a baking sheet by spraying with oil or rubbing it with butter. This will prevent the caramel from sticking to the pan. Holding the apple by the stick, dip the apples in the caramel. You may need to use a wooden spoon to spoon the caramel so it gets all over the apple. Lift the apple up out of the caramel, spin it around so the caramel drips off, and place on the oily baking sheet. Repeat with remaining apples.
If you are having trouble with the caramel sticking, your caramel may be too cool. Try reheating the caramel over medium heat on the stove, stirring constantly, until it reaches a runnier consistency.
You can also reheat in the microwave. Cook for 15 seconds at a time, stirring in-between each, until caramel reaches a runnier consistency.
You can eat the apples immediately or if you want the caramel to harden a bit, place in fridge for 45 minutes.
What to Serve with Caramel Apples
• Pumpkin Pecan Whisky; For my 31 Days of Halloween, I enjoyed these caramel apples with a pumpkin pecan whisky while listening to a spooky podcast!
• Candy & Nuts; If desired, you can roll your apples in candy, chocolate, nuts, or sprinkles while the caramel is still sticky.
Looking for more fall ideas?
→ Check out all of my favorite fall recipes!
Caramel Apples: Information & Tips
✽ Use recommended size saucepan
Any change in the recipe could give a different result including the size of saucepan that is recommended. For this recipe, use a 1.5 quart saucepan.
If you want to make more caramel, make two batches instead of doubling the ingredients.
✽ Use a candy thermometer
Using a candy thermometer to make caramel is absolutely necessary to get a good caramel UNLESS you are really confident with the cold water test (see below). Cooking the caramel to exactly 245°F (118°C) will give you a caramel that will hold its shape until it is pressed and stick to the apples the best.
✽ Cold Water Test
The cold water test is a way to test candy to know when it's done without using a candy thermometer (though I highly recommend using a thermometer- it makes life so much easier!).
For this caramel, we are cooking to 245°F (118°C). When you put a drop of the caramel in really cold water, it should hold its shape until it is pressed. This is called firm ball (temperature range is 242°F to 248°F).
You need to cook this caramel a little longer if the caramel dropped in cold water can be picked up but flattens without being pressed. This is called soft ball (temperature range is 234°F to 240°F).
You have cooked the caramel too long if the caramel dropped in cold water holds its shape (but still pliable). This is called hard ball (temperature range is 250°F to 268°F).
✽ Outside factors can change your results
Your altitude and the humidity can affect the caramel. You can use a altitute table to know the boiling point where you live.
Just know that making caramel can be finicky! You'll have some good days and you'll have some meh days.
31 Days of Halloween
These caramel apples are a part of my 31 Days of Halloween. For each day in October, I come up with a cocktail recipe and snack recipe that perfectly matches a scary movie, Halloween movie, or a fun spooky activity. Check out 31 Days of Halloween for all of your Halloween snack and drinking desires!
Caramel Apples
By Laura | Laura the Gastronaut
Prep Time: 10 minutes | Cook Time: 20 minutes | Cooling Time: 55 minutes | Total Time: 1 hour 25 minutes
Yield: 4-5 apples
__________________________________
Nothing says fall like a batch of homemade caramel apples. These Granny Smith apples are covered in a simple homemade caramel sauce and are so delicious. This sweet treat is perfect for the entire fall season and Halloween.
*Some of these ingredient links may be affiliate links. As an Amazon Associate I earn from qualifying purchases.*
**Please read entire recipe, the how-to above the recipe, and the information & tips section above prior to cooking for best results.**
Ingredients
• 1 cup (200 grams) packed light or dark brown sugar
• 1/4 cup + 2 tablespoons (90 mL) light corn syrup
• 4 tablespoons (1/4 cup) butter
• 1 cup (240 mL) heavy whipping cream, divided
• 3/4 teaspoon sea salt
• 4-5 Granny Smith apples
Instructions
➊ Prepare the apples: Wash the apples well. I like to wash mine in a vinegar water mixture. Rinse well and dry really well. Pull out the stem of the apples, and put in caramel apple sticks. Place in the fridge until ready to use.
➋ Make the caramel: In a 1.5 quart saucepan, add brown sugar, light corn syrup, butter, 1/2 cup of the heavy whipping cream, and sea salt. Cook over medium heat, stirring constantly with a wooden spoon, until it begins to boil.
➌ Once boiling, stir in the other 1/2 of heavy whipping cream. Place candy thermometer in the mixture making sure the thermometer is not touching the bottom of the pan (this could affect the reading).
➍ Keep cooking the mixture over medium heat until the thermometer reads 245°F (118°C), stirring frequently (this could take about 20 minutes). Once it reaches 245°F, remove from heat and let cool for about 10 minutes.
➎ Making apples: Grease a baking sheet with cooking spray or butter (this will prevent the caramel from sticking). Holding on to the stick, dip apples into the caramel until fully covered. You may need to use a wooden spoon to spoon the caramel all over. Lift the apple out of the caramel and spin so the caramel drips off. Place on baking sheet, and repeat with remaining apples.
If you are having a difficult time getting the caramel to stick, your caramel may have cooled too much. Reheat on the stove over medium heat, stirring constantly, until it is heated and a bit runnier. Or you can reheat in the microwave in 15-second intervals, stirring in-between intervals, until heated a bit and has a runnier consistency.
➏ If you want the caramel to harden a bit, place baking sheet with apples into the fridge for about 45 minutes. Caramel apples will be good stored in the fridge for up to a week.
__________________________________
✽ Did you make this recipe?
Let me know by leaving a comment below and sharing on Instagram. Tag @laurathegastronaut and hashtag it #laurathegastronaut.
Category: Halloween, Fall, Sweets Cuisine: American
Keywords: homemade caramel apples, caramel apples recipe, halloween caramel apples, caramel apples halloween, how to make caramel apples, halloween caramel apple, caramel apple recipe with heavy cream
More Sweet Fall Recipes:
✽ Popcorn Balls (another delicious and classic fall treat)
✽ Halloween Pumpkin Hand Pies (adorable hand pies filled with all that tasty pumpkin pie filling)
✽ Homemade Apple Cider (another great fall apple favorite)
→ Check out all of my fall recipes!
Bon appétit!
October 13, 2021 by Laura Ehlers
*This Caramel Apples blog post and recipe may contain some Amazon affiliate links. These link to products that I personally use and recommend. If you purchase anything using my links, it will not cost you anything. It will though give laurathegastronaut.com some financial support which helps me keep this blog running. Thank you for reading my blogs and your continued support.

